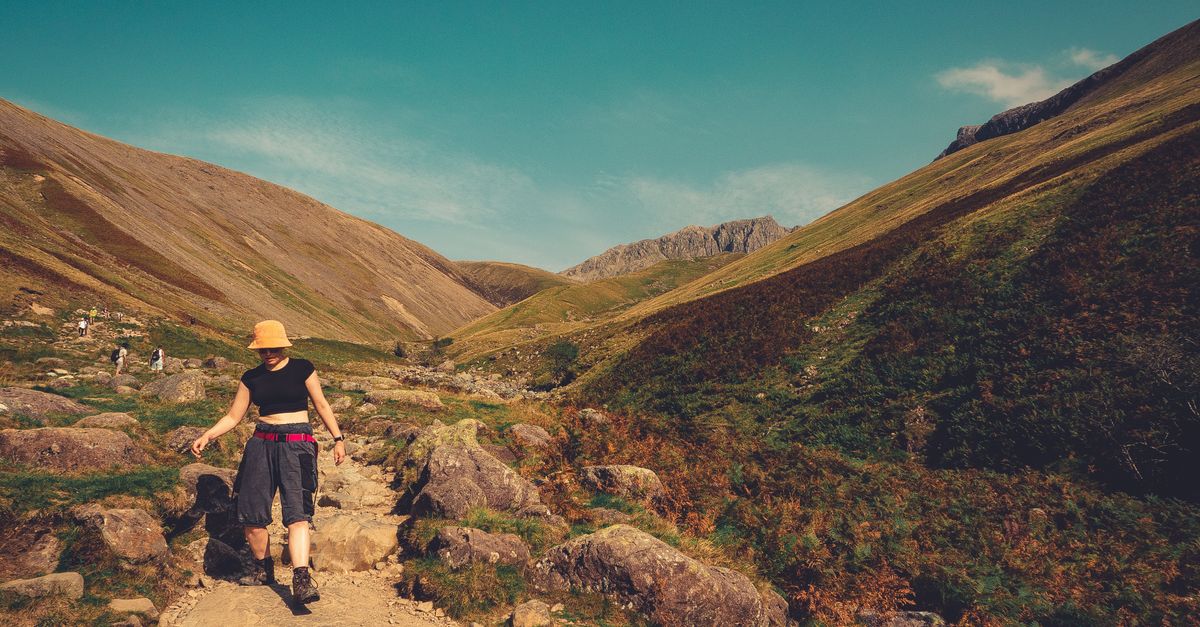
You booked a weekend trip to the mountains, but staring at your hiking boots in the closet gives you a knot in your stomach. We’ve all been there: you love nature, but you spend your workweek sitting in a chair, wondering if your legs will give out on the first steep hill. Nobody wants to be stuck gasping for breath on switchback three while friends breeze past. In this guide, you’ll learn the best gym exercises to bulletproof your knees, build rock-solid stamina, and carry a heavy pack without aching shoulders. By the end, you will have an easy battle plan to turn your local gym into a mountain simulator so you can conquer every ridge with total confidence.
Why Flat Gym Floors Trick Your Body
Walking around your neighborhood or jogging on a flat track feels pretty easy. You hit your stride, find a rhythm, and cruise along. But trails are sneaky.
A real mountain path never gives you a flat surface. You step on jagged stones, duck under fallen pine branches, and hop across slippery tree roots. One foot is tilted sideways while the other pushes off a patch of loose dirt. If you only walk in straight lines on flat surfaces, your smaller stabilizing muscles fall asleep on the job. That’s why hiking feels like a whole different sport.
To get ready, you need to teach your muscles how to handle awkward angles, sudden shifts in balance, and constant elevation changes. That starts with changing how you move your legs under tension.
Step-Ups: The Secret to Endless Climbing Power
When you hike uphill, you basically do thousands of mini one-legged squats in a row. Step-ups are the closest thing you can do indoors to recreate that exact motion.
Find a sturdy plyo box or bench that sits right around knee height. Place your whole right foot firmly on top of the surface. Now, push down through your heel and stand straight up on that leg without kicking off the floor with your back toes.
The golden rule here is control. If you bounce off the bottom foot, you cheat your front quad and glute out of the work. Try these tweaks to get the most out of every rep:
- Go slow on the way down: Lower yourself back to the floor like you’re trying not to crack an egg under your shoe.
- Hold dumbbells: Once your body weight feels easy, grab a light pair of weights to mimic your daypack.
- Aim for volume: Try three sets of twelve to fifteen reps on each leg to build lasting muscle stamina.
Once you nail the strength to push up the mountain, you face a whole different beast: heading back down.
Goblet Squats and Lunges: Saving Your Knees on Descents
Ask any seasoned hiker what hurts most after a long day outside. It’s almost never their breathing—it’s their kneecaps.
Going downhill forces your thigh muscles to act like brake pads in a car. Every step down sends shockwaves into your joints. If your quads aren’t strong enough to absorb that impact, your knees take the beating. That’s why folks get that shaky, jelly-leg feeling when they head down a ridge.
Goblet squats fix this problem. Hold a single dumbbell or kettlebell close against your chest, keep your chest tall, and drop your hips low into a deep squat. Take three full seconds to slide down before standing back up. This slow lowering phase builds the exact eccentric strength you need to protect your joints on steep descents.
Follow your squats with walking lunges. They force each leg to control its own landing, just like stepping down a rocky staircase. Your knees will thank you on mile eight.
Single-Leg Romanian Deadlifts: Armor Against Hidden Rocks
Let’s picture a totally fictional hiker named Sarah. She’s cruising down a beautiful alpine trail, looking at the pines, when her foot catches the edge of a wet granite stone. Her ankle rolls outward, and she has to catch herself in a split second. If her balance isn’t sharp, her hike ends right there on a park bench with an ice pack.
You can train your body for those clumsy moments before they happen. Single-leg Romanian deadlifts strengthen your hamstrings while turning on all the tiny tendons in your feet and ankles.
Stand on your left foot with a soft bend in your knee. Hinge forward at your hips, kicking your right leg out behind you like a bird dipping for water. Keep your back flat and your hips level with the ground. Reach toward your shin, feel a tight stretch along the back of your standing leg, and squeeze your butt to stand back up.
You’ll feel your toes and ankle wobbling like crazy. That wobble is your nervous system learning to stay stable on unpredictable trail surfaces.
Farmer’s Carries: Making Backpacks Feel Weightless
A heavy pack turns a fun stroll into a chore if your upper body isn’t ready. Your traps burn, your lower back aches, and your shoulders round forward into a slump.
Real-world core strength isn’t about doing a hundred crunches on a mat. It’s about keeping your spine tall and rigid while you carry heavy gear across uneven dirt. Here at PeakTrail Fitness, we see plenty of people working hard in the gym who still struggle on hills simply because their midsection tires out under load.
The fix is ridiculously simple: grab two heavy dumbbells from the rack, let them hang at your sides, and take a stroll across the gym floor. Stand tall, pull your shoulder blades down and back, and brace your belly like you’re ready for someone to poke you in the ribs. Walk fifty steps with smooth, slow strides without letting the weights swing against your thighs.
Heavy carries teach your hips, back, and grip to work as a unified shield. Once you master them, slipping into your hiking pack feels light as a feather.
Stair Machines and Incline Walks: Building the Trail Engine
Muscles give you power, but your heart and lungs keep the engine running when the trail points straight toward the sky.
The stair climber machine is brutal, but it works wonders. Instead of leaning your elbows on the handrails and dragging yourself upward, stand completely upright. Let your legs lift your body weight. Start with ten minutes at a steady pace where you can still talk in short sentences. As you get fitter, push the pace for two minutes, back off for two minutes, and repeat.
If your gym doesn’t have stairs, set a treadmill to its highest incline—usually 12 or 15 percent. Drop the speed to a brisk walk around 2.5 or 3 miles per hour. Do not hold on to the plastic bars. Pump your arms, press through your heels, and let your calves and lungs feel the burn.
This steady, grinding work trains your body to clear out fatigue so you never have to sit down on a dirt bank just to catch your breath.
Putting It Together for Trail Day
You don’t need to spend two hours every day working out to see massive gains on the trail. A simple plan works best:
- Two strength days: Rotate through step-ups, goblet squats, single-leg deadlifts, and farmer’s walks.
- Two cardio days: Spend twenty to thirty minutes on the stair machine or steep treadmill walk.
- One rest day: Stretch your calves, roll out your quads, and let your legs rebuild.
Mix these moves into your weekly routine, and you’ll notice the change on your very next hike. Hills that used to leave you breathless suddenly feel like gentle bumps in the road.
Getting ready for big trails doesn’t require living in the mountains or spending entire days wandering through dirt paths. By training your climbing legs with step-ups, building knee-saving brakes with squats, and bulletproofing your ankles with single-leg balances, you turn ordinary gym gear into an outdoor training lab. Throw in heavy carries for backpack comfort and incline treadmill work for your lungs, and you’ll be unstoppable. Hiking should be about soaking in wild views, laughing with friends, and enjoying fresh air—not nursing aching joints or wheezing under a heavy pack. Take these exercises to your gym this week, stay consistent, and feel the change in your stride. The summit is waiting for you, and you’ve got this.