If you spend your days hunched over a laptop or staring down at a smartphone, your shoulders probably feel stiff, tight, and cranky. Most of us push through our gym sessions doing lots of chest presses and shoulder raises, but we forget the backside of our bodies. That is where face pulls come in handy. Done right, they balance your posture, build your upper back, and keep your rotator cuffs bulletproof. But if you just stroll up to a machine, clip on a rope, and yank it toward your teeth, you are missing out on the real benefits. Here, we break down the ideal cable height, grip, and form so you can move pain-free and feel stronger every day.
Why Your Slouched Shoulders Need This Move
Picture a camping tent held up by ropes on both sides. If the front ropes are pulled super tight, but the back ropes are completely limp, the whole tent leans forward and crumples into the dirt. That is pretty much what happens to your upper body when you sit all day. Your chest muscles tighten up, while your upper back muscles take a nap.
Face pulls target the muscles that hold your upper body upright: the rear deltoids on the back of your shoulders, your rhomboids, and the middle part of your traps. Strengthening these muscles pulls your shoulders back into their natural, happy place. You stand taller, breathe easier, and look a whole lot more confident without even trying.
Finding the Sweet Spot for Cable Height
Walking up to the cable machine can feel overwhelming with all those adjustment holes. Set the pulley too low, and you turn the move into an upright row. Set it way too high, and you end up doing a funky pulldown.
The sweet spot for most people is right around eye level, or just above your forehead. When the pulley sits at this height, the line of pull matches the angle of your upper back muscles. As you pull the rope toward you, the cable pulls straight across instead of yanking you down into the floor. This lets you focus entirely on your upper back and shoulders without fighting awkward angles that strain your neck.
The Grip Debate: Overhand vs. Thumbs-Back
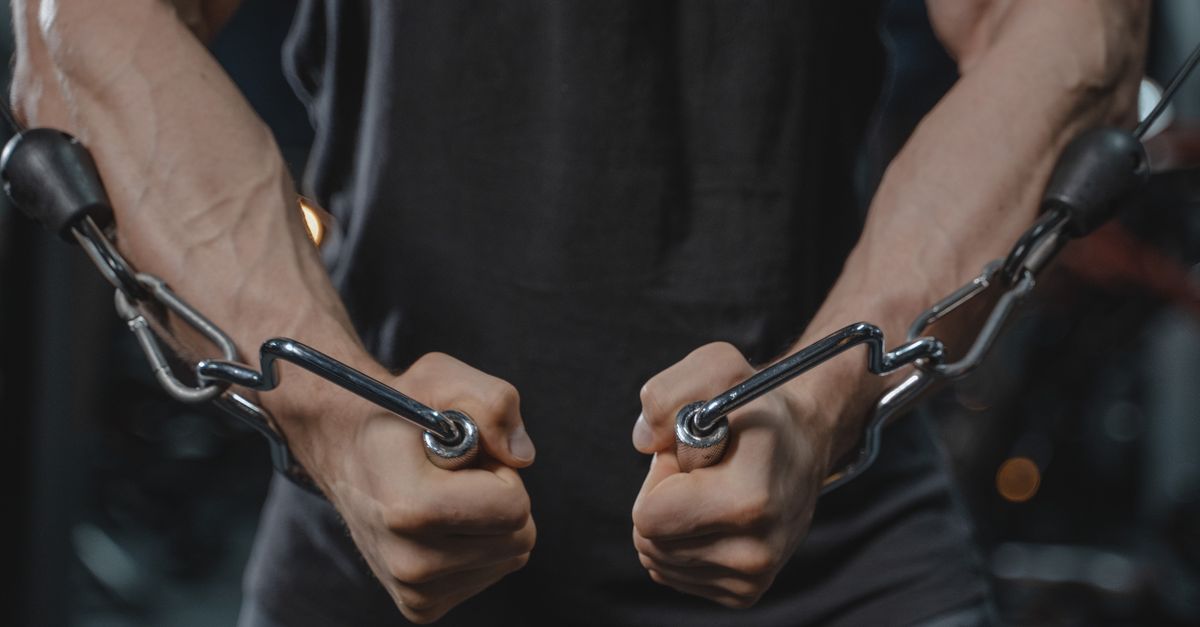
Grab the standard two-pronged rope attachment. You have two main ways to hold it, but one is usually much friendlier on your joints.
- The overhand grip: Your palms face the floor, knuckles up. While this works your rear delts, it can sometimes pinch the front of your shoulder joint if your mobility is a bit stiff.
- The thumbs-back grip: Grab the ends of the rope with your thumbs facing backward, toward your own ears. Your palms will face each other or slightly inward.
We almost always prefer the thumbs-back grip. Why? Because it automatically forces your shoulder joint to rotate outward at the end of the pull. This external rotation gives your rotator cuff some much-needed love and prevents that annoying clicking sound people often feel in their shoulders.
Locking In Your Stance for Balance
Ever try playing tug-of-war with your feet glued together side-by-side? You tip over instantly. The same thing happens on a cable machine if your feet are parallel. Every time the weight pulls back, you will wobble forward on your toes.
Fix this by taking a comfortable split stance. Put your non-dominant foot forward and your other foot a step back, just like a boxer. Bend both knees slightly and brace your stomach muscles as if someone is about to tap you in the gut. This solid base anchors you into the floor so the cable does not drag you around. You can also drop to both knees on a soft mat if you want to completely eliminate any chance of cheating.
Nailing the Step-by-Step Technique
Now that you are set up, here is how to actually move the weight:
- Back up a couple of steps until the weight stack lifts slightly off the rest and you feel tension in the cable.
- Reach your arms out straight in front of you, letting your shoulder blades open up.
- Initiate the pull by driving your elbows out wide and backward, keeping them high—level with your ears.
- As the center knot of the rope nears your face, rip the two rope ends apart like you are trying to tear a piece of paper in half.
- Finish with your hands beside your ears, striking a double-biceps pose. Pause here for a full second and squeeze the center of your back.
- Slowly let the rope travel back out for a count of two or three seconds before starting the next rep.
The Heavy Weight Trap
Let’s talk about a fictional lifter named Mike. Mike walks into the gym, wants to show off, and pins the cable stack down at eighty pounds. As soon as he pulls, his lower back arches hard, his chest heaves backward at a forty-five-degree angle, and he basically turns the face pull into a sloppy tug-of-war match.
Mike is not actually working his rear shoulders; his lower back and body momentum are doing all the heavy lifting. Face pulls are not an ego exercise. If you have to lean back like you are water-skiing just to move the rope, the weight is too heavy. Drop the pin down to a lighter plate. You want to feel the back of your shoulders burning, not your lower back aching.
How to Fit Them Into Your Routine
Because the muscles involved are small and built for endurance, face pulls love high reps. Aim for sets of twelve to twenty reps with light to moderate resistance. Take your time, focus on the squeeze, and control the way back.
You can sprinkle these into your week in a couple of ways. They make a fantastic warm-up before bench presses or overhead presses because they wake up your upper back and grease the shoulder joints. Alternatively, you can toss them in at the very end of your workout as a finisher to leave the gym standing tall with great posture.
Building resilient shoulders does not require lifting the whole weight stack. By setting your cable right around eye level, grabbing the rope with your thumbs pointing back, and pulling wide toward your ears, you give your upper back the love it desperately needs. Remember to ditch the heavy weight, lock in a solid split stance, and focus on that nice squeeze between your shoulder blades. Whether you do them to warm up for bench presses or finish a tough back day, face pulls will balance your posture and keep your joints feeling smooth. Give these cues a shot during your next gym trip, and your shoulders will thank you for years to come.